REVIEW · RIO DE JANEIRO
Rio de Janeiro: Pedra da Gavea Adventure Hike
Book on GetYourGuide →Operated by RioXtreme · Bookable on GetYourGuide
Pedra da Gávea turns a normal hike into a real cliff-side day. I love the way you’re surrounded by Tijuca Forest National Park for much of the route, and then the experience sharpens close to the top with granite climbing and safety gear. You also get a big-picture payoff: the summit views cover the city, beaches, and the forest in one sweep.
The main drawback is simple: this is listed as advanced (level 5 of 5), with steep terrain and a real rock section near the peak. If you’re not comfortable with heights, or you have a low fitness base, you’ll feel it more than you’d like.
In This Review
- Key Things I’d Plan Around
- Getting Oriented: Pedra da Gávea in Plain Terms
- Meeting Spot and Start Time: Why the Morning Matters
- The Full Day at a Glance: Timing and Effort
- Stop 1: The Trail Begins in Tijuca Forest Mood
- Stop 2: The Summit Push and the Short Climbing Moment
- Stop 3: Break Time and Refuel Like a Mountain Hiker
- Stop 4: Summit Views You’ll Actually Remember
- Stop 5: Descent With a Guided Rappel Section
- The Rock Climbing and Rappelling: What You Should Expect Physically
- Gear, Clothing, and What to Bring (No Guessing)
- Price and Value: Is $85 Worth It?
- Who Should Book This Hike, and Who Should Skip It
- What the Guides Add (Beyond Just Leading the Way)
- The Best Way to Enjoy It: My Quick Strategy
- Should You Book Pedra da Gávea?
- FAQ
- How long is the Pedra da Gávea adventure hike?
- What time does the hike start?
- Where is the meeting point?
- What’s included in the price?
- What should I bring?
- Is food or drinks provided?
- Is this suitable for beginners?
Key Things I’d Plan Around
- Advanced hike level, short but real rock movement near the top: plan for effort in the last stretch more than the early part
- 842m summit views over Rio: clear day matters a lot for city + coastline photos
- Small group up to 6: more personal attention during the technical parts
- Rappel on the way down: one of the most memorable and physical sections, but guided
- Beginner-friendly safety equipment close to the summit: no prior climbing experience required for that short section
Getting Oriented: Pedra da Gávea in Plain Terms
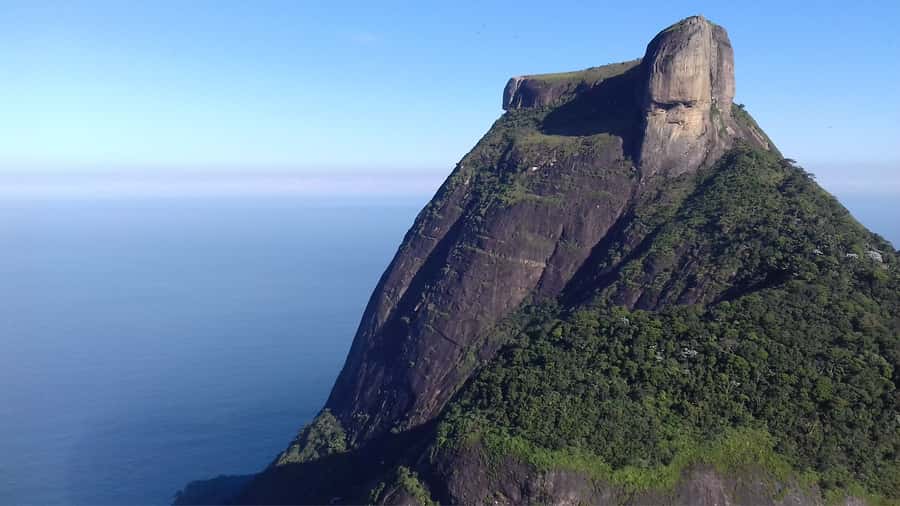
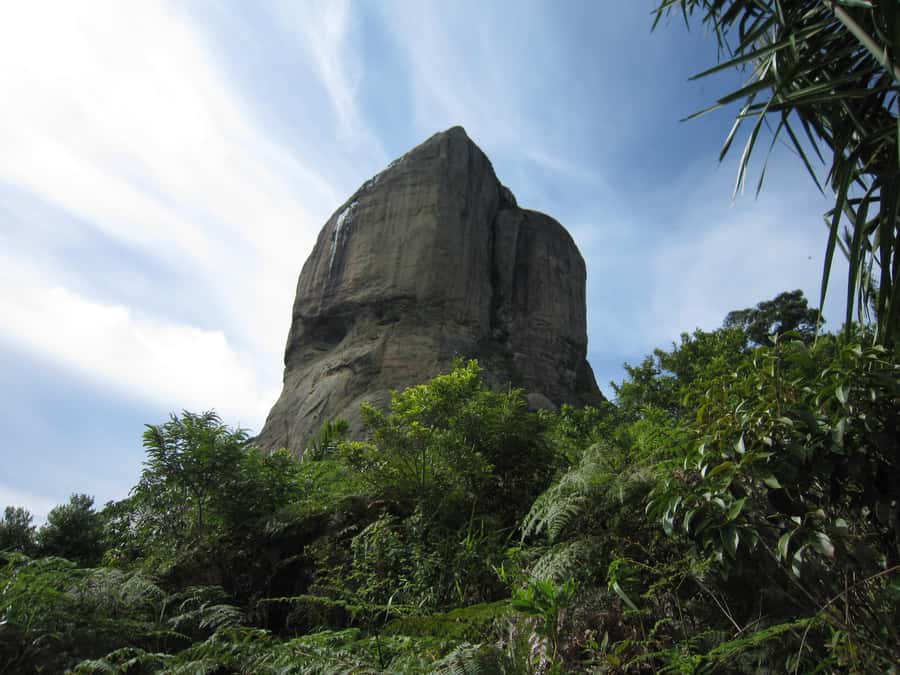
Pedra da Gávea (Gávea’s Rock) is one of those Rio hikes that feels like it should be a full-day mountain trip, not a quick outing from the city. The reason is the combination of steep jungle trail walking and a granite wall moment right near the top. You’re still in the Tijuca Forest atmosphere for much of the route, but the mountain quickly turns the day into hands-on terrain.
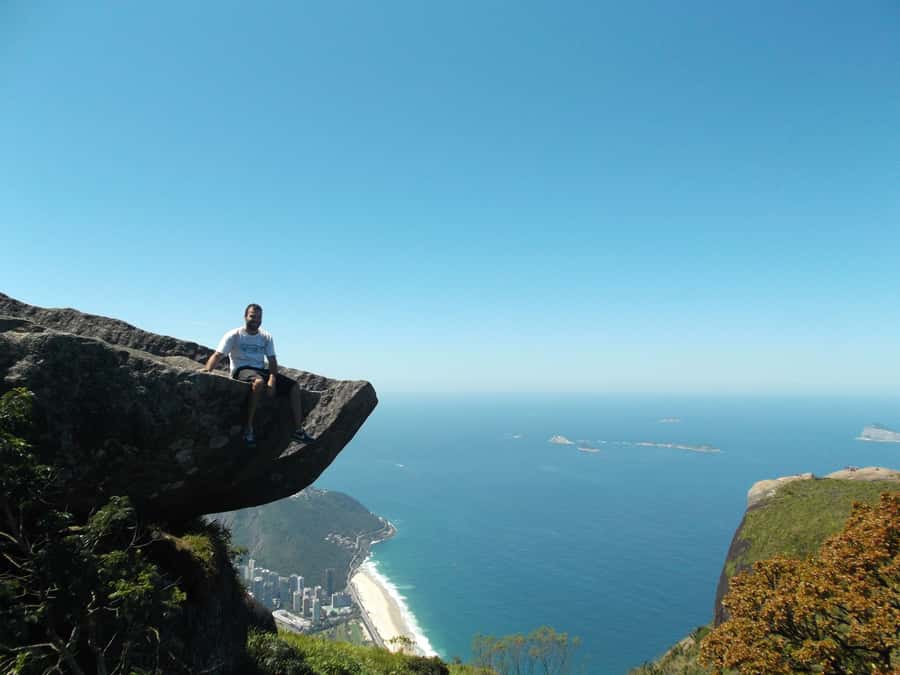
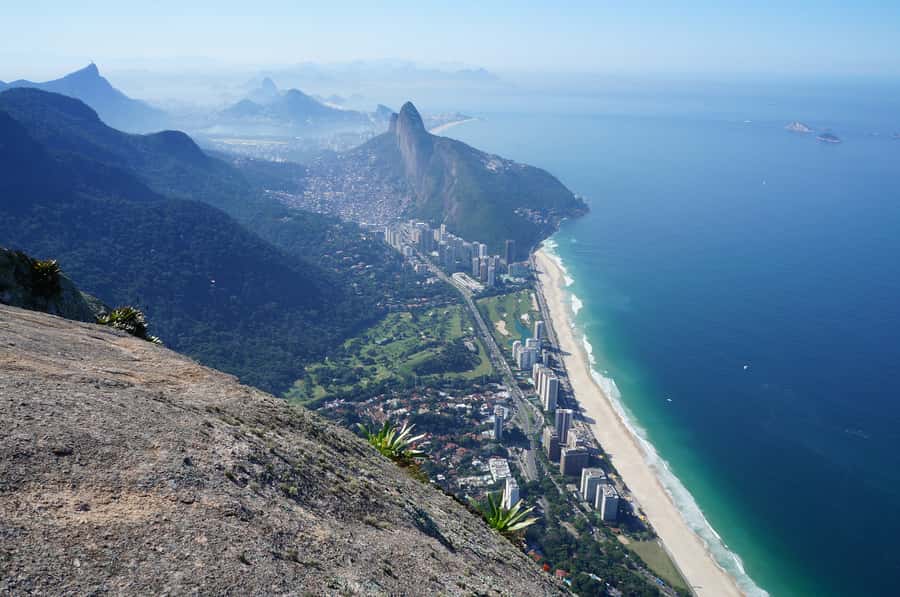
Your payoff is the summit height: 842m / 2763ft above sea level. That elevation helps you see Rio the way postcards try to, with beach lines, city sprawl, and the forest acting like a dark green backdrop. When the weather cooperates, it’s the kind of view that makes you stop moving and just take it in.
This tour is run by RioXtreme, with an accredited mountain guide and climb gear included. That matters because the day includes both a short climbing section and a rappel on the way down. You’re not doing this solo with your own guesses.
You can also read our reviews of more hiking tours in Rio De Janeiro



Meeting Spot and Start Time: Why the Morning Matters
You’ll meet at Point da Meire, Estrada Sorimã, 932, in Itanhangá, Barra da Tijuca (Rio de Janeiro). The start time is 08:00.
Starting early helps for two reasons. First, the lower parts of Tijuca Forest can feel warm and humid. Second, the summit views are better when the air is clearer. If you’re trying to get sharp photos of the city and coastline, you’ll appreciate the head start.
The group is intentionally small: up to 6 participants. That smaller size is one of the best parts of this format because the guide can slow down, check foot placement, and talk through the tricky segments without rushing everyone.
The Full Day at a Glance: Timing and Effort
Plan for about 6 to 7 hours total. The route timing breaks down like this:
- Around 2.5 hours up
- Around 2.5 hours down
- A quick 5-minute break in the middle
Trail length is 6 km / 3.7 miles total, with elevation gain around 800m / 2625ft. Even though the distance doesn’t look huge on paper, the gain is steep enough that you’ll feel it in your legs, especially as you get higher.
Also note the level: advanced (level 5 of 5). That doesn’t mean the whole hike is technical climbing the whole time. It means the terrain demands more than casual hiking, and you should expect your route to include steep stretches and a guided rock segment.
Stop 1: The Trail Begins in Tijuca Forest Mood
Right after the start, the day shifts into “let’s move” mode. Much of what you’ll walk is within Tijuca Forest National Park, so the vibe is green, shaded, and naturally dramatic. This matters more than people think: you’re not just climbing a mountain in open air. The forest helps break up the heat and gives the hike a sense of place.
Practical note: because it’s a steep day, you’ll want breathable clothing and good hiking shoes with traction. You also want to carry your own basics—your guide will handle the technical gear, but you still need to bring your water and snacks.
If you’re traveling with a bigger daypack, keep it manageable. Large bags and luggage aren’t allowed, so go light and simple.
Stop 2: The Summit Push and the Short Climbing Moment
The ascent is the part where the day feels most like a “mountain effort.” You’ll climb for about 2.5 hours, and the guide takes you toward the upper section where the adrenaline actually starts.
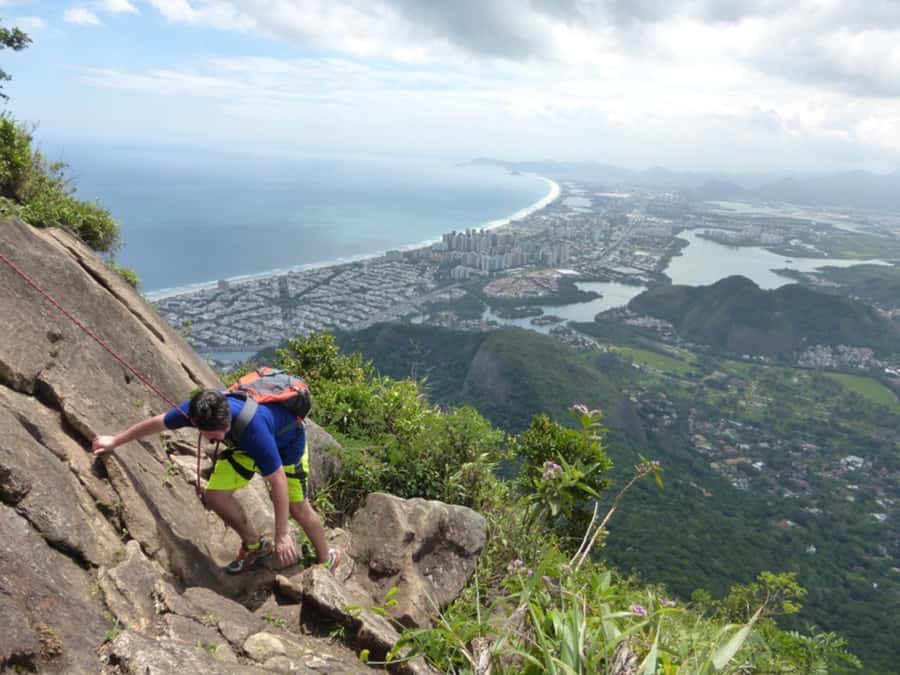
Here’s the important detail: close to the top, you’ll face a short rocky segment with safety equipment. The tour description frames it as easy, quick, totally safe for beginners, and it requires no previous climbing experience for that segment.
Still, “safe” doesn’t mean “casual.” You’ll use your hands and focus on body position. This is also where an advanced overall rating makes sense. Even if the climbing piece is short, the effort and mental shift are real when you’re on granite near the top.
The climbing section is described with technical references (1º+ BR / 5.2 US / 2º FRT). Translation: you’re not free-soloing. You’re doing a guided, equipment-assisted move as part of a structured route.
If you want a confidence check, here’s what one review highlights: the hike can feel relatively easy and beautiful except for a tougher rappel segment of about 20 meters. That tells me the day’s difficulty isn’t constant—it spikes in a specific technical part. In other words, you’re climbing steadily, then the rock section asks for attention.






Stop 3: Break Time and Refuel Like a Mountain Hiker
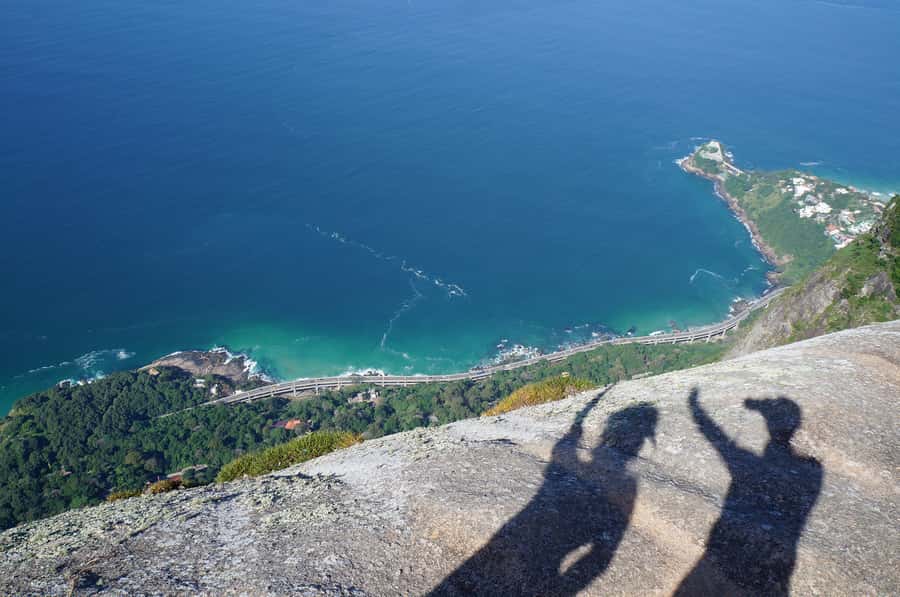
You’ll get a short break—5 minutes. It’s not long, so treat it like a quick reset:
- drink some water
- grab a snack
- adjust clothing
- mentally switch from climbing mode to summit-and-down mode
Because the descent is technical too, that brief pause is worth using. Don’t turn it into a long talk-fest—save your energy for what comes next.
Stop 4: Summit Views You’ll Actually Remember
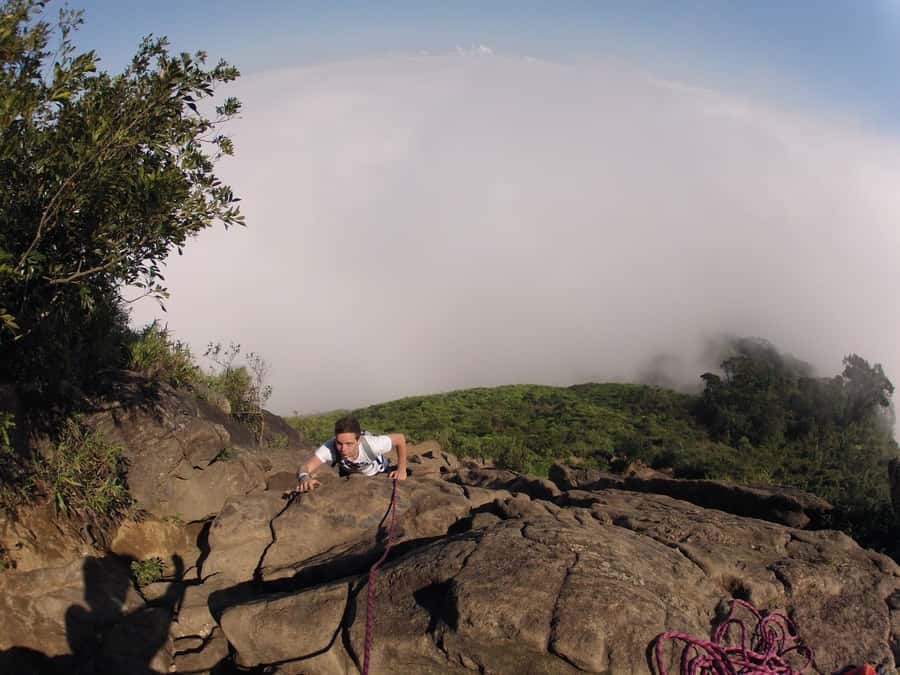
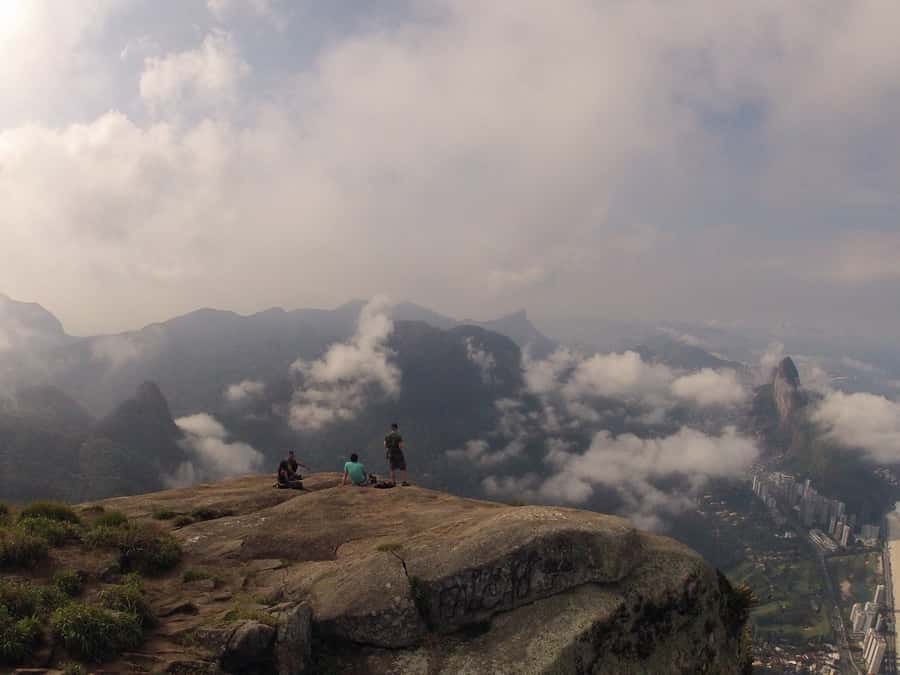
Once you reach Pedra da Gávea’s summit, the rewards are big. You can see:
- Tijuca Forest
- Rio’s famous landmarks
- the beaches and the city spread
This is the moment where weather becomes a decision factor. Clear visibility makes the whole hike feel worth it. On a hazy day, it’s still impressive, but you lose some of the “I can name what I’m seeing” clarity.
A helpful review detail ties directly here: one person specifically called out that on a good day the view from the top is top. That aligns with what you’ll experience—this is a sight-heavy summit.
And yes, this is where photos matter. Another review mentions that the guide (Edu) takes photos and videos and helps you with patience along the way. If you want visuals without juggling a camera during technical sections, that kind of support can make the experience smoother.
Stop 5: Descent With a Guided Rappel Section
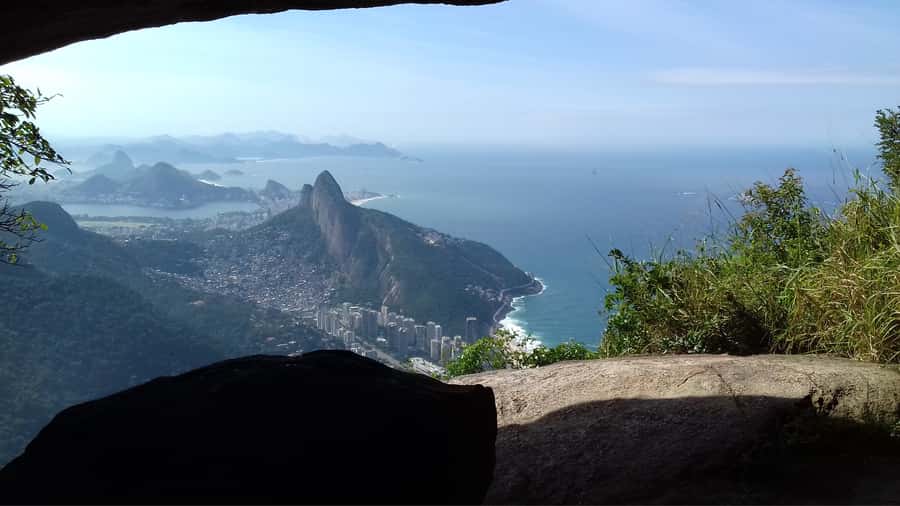
The descent is where this hike becomes unforgettable—and demanding.
You’ll rappel on the rock section on the way down. The tour description calls it one of the most demanding and beautiful trails in the city. That makes sense: rappel requires controlled movement, and it’s a different kind of effort than just walking downhill.
Based on review feedback, one traveler noted that most of the experience is fairly straightforward except for a tougher ~20m rappel segment. That’s the kind of detail you should take seriously when deciding if this day fits you.
The good news is that you’re not improvising. You’ll use safety equipment, and the guide is there for the technical steps. Think of the rappel as your “rock phase.” Once you’ve done it with a guide’s instructions, the rest of the descent turns back into hiking.
The Rock Climbing and Rappelling: What You Should Expect Physically
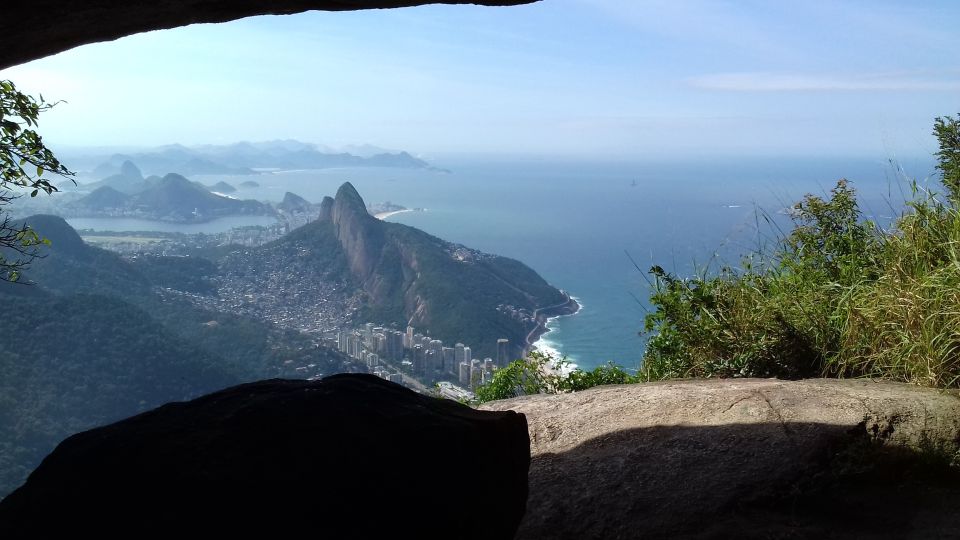
Even though the short climbing near the summit is described as beginner-friendly with safety equipment, the overall hike is still rated advanced. That combination often surprises people who assume “advanced” means long technical sections.
In reality, this day can be broken into:
- steep hiking effort on the way up and down
- a short near-summit technical movement
- a technical rappel on the way down
So your body needs stamina for steep trail hiking, plus a willingness to do careful technical steps when the granite takes over.
If heights are a problem for you, be honest with yourself. The rappel part is the segment where nerves could show up first. If you have low fitness, the steepness could also wear you down before you reach the technical sections.
Gear, Clothing, and What to Bring (No Guessing)
The tour includes climb gear and a guide, but you still need to show up ready for a long, sun-and-mountain day. Bring:
- hiking shoes
- water
- snacks
- sunscreen
- sun hat
- sunglasses
- breathable clothing
- insect repellent
- a daypack
A small-but-practical tip: pack so you can reach what you need quickly. On this kind of hike, you’ll want water, sunscreen, and snacks without unpacking your whole bag every time the guide stops.
Also, don’t bring luggage or large bags. Keep it tight and simple.
Price and Value: Is $85 Worth It?
At $85 per person for roughly a half-day adventure, the value comes from what’s included. You’re paying for:
- an accredited mountain guide
- climb gear
- technical instruction through a rock section and rappel portion
If you were to try this on your own, the hardest part isn’t just the hike—it’s knowing how to do the climbing/rappel safely with the right systems. That’s what you’re buying here.
This price is also more reasonable when you consider the group size: limited to 6 participants. Smaller groups generally mean more direct attention during the technical parts, which is exactly when you want it most.
Two things to weigh for your own value decision:
- The hike is rated advanced, so you’re more likely to enjoy it if you’re comfortable with steep climbs and careful movements.
- Food and drinks are not included, so factor in that you’ll need your own water and snacks.
Who Should Book This Hike, and Who Should Skip It
This tour fits best if you want a Rio adventure that feels like real mountain time, not just a scenic walk. It’s a strong choice for:
- travelers who like hands-on challenges
- people who are comfortable with steep terrain
- hikers who want dramatic views without a multi-day expedition
It’s not a match if:
- you’re under 15 years old
- you have low fitness
- you’re uncomfortable with heights, especially with the rappel segment
If you’re unsure, focus on your comfort with technical steps. The short climbing section is framed as beginner-friendly, but the rappel is a bigger psychological and physical moment.
What the Guides Add (Beyond Just Leading the Way)
A good guide changes the whole feel of a technical hike. One review praise was very direct: a guide described as super attentive and patient, with support the entire way. Another review specifically mentioned a guide capturing photos and videos, which helps when you’re busy concentrating on footing.
That sort of guidance matters on Pedra da Gávea because you’re juggling steep hiking, safety gear use, and careful movement. A patient approach keeps you from rushing and guessing.
The Best Way to Enjoy It: My Quick Strategy
If you want a smoother day, do these:
- start strong but don’t sprint early—your legs will need energy for the summit push
- save your focus for the last stretch near the top and the rappel
- use your 5-minute break to refuel and reset
- pack what you need for sun and humidity, because you’ll be outside for hours
- if you’re bringing a phone for photos, keep it secure and quick-draw only when it’s safe
Should You Book Pedra da Gávea?
You should book if you want one of Rio’s most dramatic hikes—where the forest walk turns into granite climbing and a guided rappel, and the summit gives you a wide view of city and coastline. The combination of small group size, guide-led gear, and the summit payoff is what makes it feel like more than a standard hike.
You should think twice if you’re not ready for an advanced day. The steepness and the technical rappel are not theoretical. If you’re fit, steady on your feet, and mentally ready for heights, this is a memorable way to see Rio from the top.
FAQ
How long is the Pedra da Gávea adventure hike?
The tour duration is listed as about 6 hours, and the schedule notes around 7 hours approximately.
What time does the hike start?
The starting time is 08:00.
Where is the meeting point?
The meeting point is Point da Meire, Estrada Sorimã, 932, Itanhangá – Barra da Tijuca, Rio de Janeiro.
What’s included in the price?
The tour includes an accredited mountain guide and climb gear.
What should I bring?
Bring hiking shoes, water, snacks, sunscreen, sunglasses, a sun hat, insect repellent, breathable clothing, and a daypack.
Is food or drinks provided?
No. Food and drinks are not included.
Is this suitable for beginners?
The hike is rated advanced overall, but the short rocky section near the top uses safety equipment and is described as safe and perfect for beginners with no previous climbing experience required.